Having been a sneaker enthusiast for a long, I know that my favorite kicks must be clean and in good condition all the time. It makes them last longer as well as ensures they remain fresh and always fashionable. What makes cleaning and maintenance of sneakers very important? How about I make this brief?
Secondly, you clean the sneakers regularly so that there is no grime or grains of sand that build in the sneakers. These can destroy the materials and create a colouration on them later on. You are ensuring that your sneakers continue to maintain their original look by keeping them clean.
The second method is also important since it is possible for people to clean their homes and other environments thoroughly, thus preventing odors. Sneakers are vulnerable to sweat smell, especially since they tend to become moist and dirty often. You should clean them regularly and apply deodorizing methods so your sneakers will smell sweet.
Finally, caring for your sneakers demonstrates that you value the quality and workmanship that goes into them. Sneakers are not just shoes; they are fashionable. In essence, you’re treating them as masterpieces, something they essentially are because of the effort and craft involved in their creation.
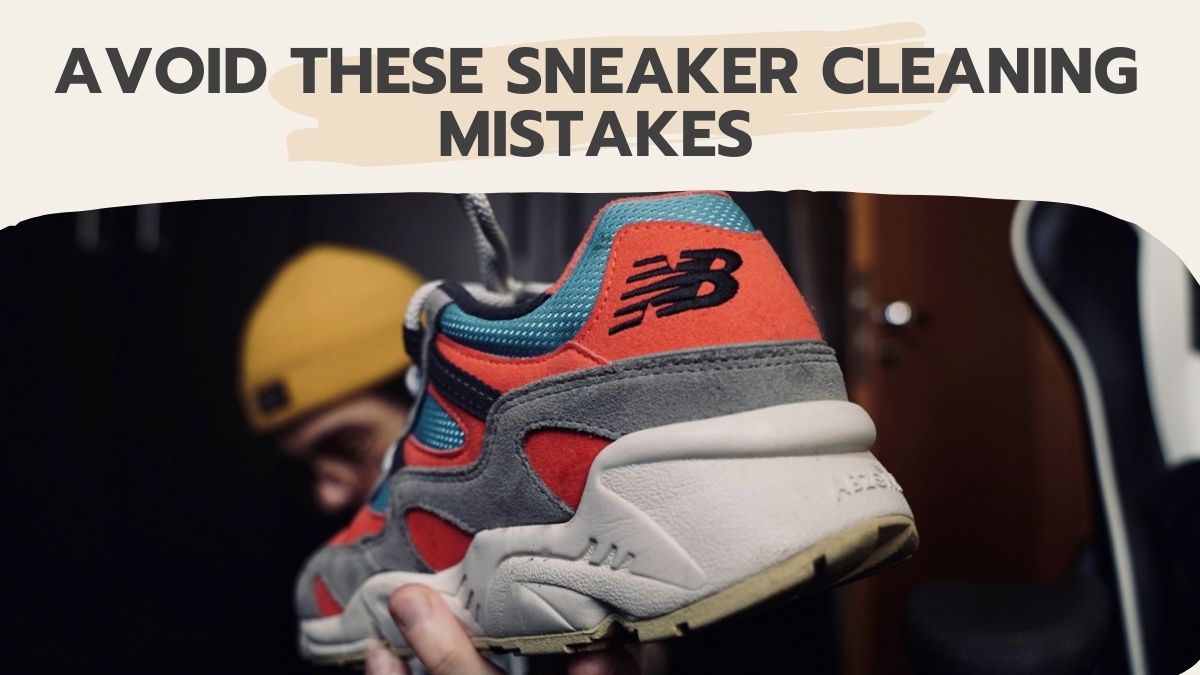
Common Sneaker Cleaning Mistakes to Avoid
Avoid making these mistakes when cleaning your sneakers. Such errors may result in permanent damage and will damage your preferred pair of sneakers. Let’s take a look at them:
1.Using too Much Water or Detergent
Wearing sneakers may require washing, but using too much water or detergent might ruin the product. It may cause color fading, material damage and sometimes molds growth. Use either the manufacturer’s instructions or a soft detergent that is ideal for sneakers at all times.
2.Using Harsh Chemicals
Never use strong chemicals like bleach or acetone on your sneakers. Discoloration, reduced strength of materials and texture alteration can be caused by these chemicals. Use mild detergents so as to maintain the sneakers in the best condition.
3.Not Rinsing Properly
Once you clean your sneakers, ensure you wash them off completely. Letting cleaners or laundry detergent remain on your sneakers will only make them look dirty and attract more dust. Before putting them on, ensure you wash and dry them well.
4.Putting Your Sneakers in the Washing Machine or Dryer
As tempting as it might be to do so, you should not put your sneakers in a washing machine or a dryer because doing so would damage them. Washing and drying your sneakers in the washing machine could warp its agitator, separate its materials and loosen the adhesive it contains. Avoid dipping your shoes in water, use soap and let them dry in the air to maintain their originality.
5.Not Cleaning Your Sneakers Regularly
Avoiding daily cleaning leads to more dirt and hard stains that become a headache to get rid of. It is advisable to clean your sneakers after every wear or monthly, depending on the frequency with which you wear them.
Tools and Products for Sneaker Cleaning

Having learned what you should and shouldn’t do when caring for your sneaks, the time has come to move to the next step. Here are some essentials:
1.Soft-bristle brush: Soft-bristled brush would be good for cleaning the surface of the sneaker. Find a brush with synthetic bristles that won’t scratch or damage the materials.
2.Microfiber cloth: After cleaning your sneakers, use a microfiber cloth to wipe them. Soft, absorbent, and with no lint at all.
3.Mild detergent: Select a gentle detergent designed for sneaker cleaning. Previously mentioned are the strong chemicals and bleach.
4.Sneaker cleaner solution: Buy a quality sneaker cleaner solution that is non-hazardous to various types of materials. These removals are done without damaging it and aim at getting rid of stains and dirt.
5.Suede/nubuck brush: In case you own sneakers with suede or nubuck udders, it is indispensable to have a special brush for these materials. It also cleans and restores the texture of the material. Also, it removes scuff marks or stains.
6.Waterproof spray: A spray that is meant to safeguard your sneakers from water stains or damage can also be used. It forms a protective layer that is repulsive in nature and repulses water, thereby keeping sneakers dry all the time.
7.Stain remover: A stain remover is an effective option for persistent stains that do not wash off.
Say Goodbye to Foot Pain: 10 DIY Shoe Hacks for Ultimate Comfort
Step-By-Step Guide to Cleaning Your Sneakers

Step 1: Remove the Laces
You also have to take off your sneakers’ laces before embarking on the cleaning process. This will simplify cleaning the whole of its surface, hence avoiding any damage to the laces. All you need to do is loosen the laces and take them out of the eyelets. Let’s keep them aside; these will be washed later.
Step 2: Brush Off Dirt and Debris
It is now that time to remove loose dirt and debris from your sneakers’ surfaces. Light scrubbing with a soft-bristle brush can be used in order to remove particles from sneakers. Make sure you do not put an excess amount of pressure as it may tear them apart. A light touch to remove the surface dirt from your sneakers will be sufficient and prepare it for another process.
Step 3: Prepare the Cleaning Solution
You will need an appropriate cleaning agent to clean your sneakers. Mix the sneaker cleaner solution as instructed to dilute it with water. There is a need to employ the recommended ratio in order to avoid overuse or underuse of the solution. Excess use may leave a residue on sneakers, while deficient use will not clean out stains and dirt appropriately. Ensure that you read the directions well and add enough detergent and water.
Step 4: Spot Clean
You prepare the cleaning solution and start to attack the hard stains or dusty areas of your sneakers. Wet a clean cloth or brush into a cleaning solution, then lightly rub the stained areas. Work in small circle movements, and be patient. Let its charm work on the solution. When scrubbing, notice any very hard spots, try allowing the solution to soak for 15 minutes or so before scrubbing again. However, be careful while scrubbing and do not use any abrasives because they might ruin your sneakers.
Step 5: Clean the Entire Surface
Having carried out the spot cleaning, you now have to scrub the entire sneakers’ surface. Dip a piece of cloth or paintbrush in the cleaning solution and do the cleaning on the whole outside of your shoes. Inspect seams, corners, and other difficult-to-access places. However, be thorough while being gentle to avoid ruining the materials. Ensure that you are using a soft-bristle brush if using a brush to avoid any scratching. Do not be in a hurry when you are cleaning your shoes since it can take longer to give them a new look.
Step 6: Rinse Off the Cleaning Solution
Finally, ensure that you flush away the cleaning solution by using clean water. The last step is vital in getting rid of any traces of the remedy and any discolour or residue on your sneakers. Damp your clean hand with water and wipe it on a sponge or a clean cloth. Clean your sneakers and wipe them well, removing any cleaning solution you may have applied. Also, it is important to look keenly at areas where the solution could have deposited itself – crevices and the soles. Rinse the cloth or sponge until it is very wet.
Step 7: Dry Your Sneakers
Finally, you’ll want to dry them after rinsing. Carefully use a clean microfiber cloth to pat dry your shoes. You should also refrain from rubbing or scrubbing since this will only lead to friction, hence wearing out of the materials. Rather than wipe the excess moisture off, use a blotting motion. Afterwards, let the sneakers dry out by air in a place with good ventilation. Do not put them under the sun or heat sources because shrinkage and material damage can be their results. Ensure that they are thoroughly dried up before proceeding to the following process.
Step 8: Re-lace and Enjoy
When your shoes are completely dry, re-lace your sneakers and get prepared for walking again. Pass your clean laces through the eyelets of your sneakers. Ensure that they are well-laced and tied properly. Enjoy those bright and shiny footwear of yours and bask in all the praise that you will subsequently get.
Conclusion
Congratulations! Now, you’re an expert in sneaker cleaning and maintenance. Through implementing these strategies, an individual can ensure that their sneakers remain vibrant and untainted for many years.
Keep in mind that your sneakers will last longer if you clean them up and take care of them. It demonstrates that you respect their design and crafts. To avoid making common cleaning mistakes, you will need to invest in the best cleaning tools and products. To clean your house effortlessly, you need to follow this step-by-step guide.